How to Find Sensitive Data in Microsoft 365
Published July 28, 2026
To find sensitive data in Microsoft 365, use the classification tools built into Microsoft Purview: sensitive information types recognize data like Social Security numbers, credit cards, and medical record numbers by their patterns, and tools like Content Explorer and DLP simulation mode show you exactly where that data lives across email, SharePoint, OneDrive, and Teams. Knowing this matters because every protection you might switch on afterward, labels, encryption, sharing rules, depends on knowing where the sensitive data actually is. This guide is for the business owners and administrators asking the honest first question, "what do we even have, and where is it?", and it covers how detection works, which tools show you the map, and what your licensing does and does not include.
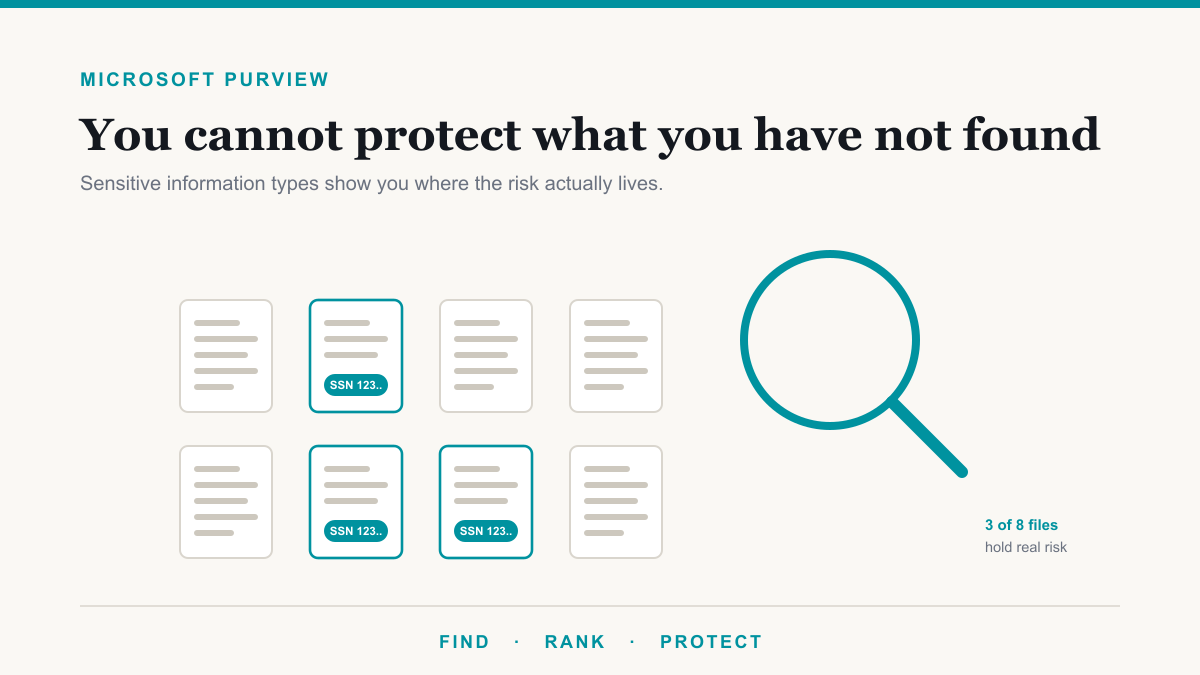
You cannot protect what you have not found
Most organizations secure their data in the wrong order. They start with the controls, a label here, a sharing restriction there, and skip the inventory. The result is protection applied where someone guessed the sensitive data was, not where it is. In practice, sensitive files concentrate in unexpected places: an old HR site nobody remembers, a finance folder copied into a project site years ago, a scanned-documents library that grew without anyone watching. Finding the data first turns every later decision, what to label, what to encrypt, what to cover with a DLP policy, from guesswork into a short, ranked to-do list.
Sensitive information types: how Microsoft 365 recognizes sensitive data
The detection engine underneath all of Purview is the sensitive information type, or SIT. A SIT describes what a piece of sensitive data looks like: the pattern of a Social Security number, the checksum a real credit card number passes, the format of a bank account or a medical record number, usually combined with nearby keywords that raise confidence, so "123-45-6789 next to the word SSN" scores higher than a lone number that merely fits the shape. Microsoft ships hundreds of these detectors covering financial, health, and government identifiers across many countries, documented in the sensitive information types overview.
Two refinements are worth knowing. You can build custom sensitive information types for identifiers unique to your business, like a patient chart number or client matter format. And for content that has no tidy pattern, contracts, resumes, source code, trainable classifiers learn to recognize a category of document from examples rather than a regular expression. Most organizations get far with the built-ins plus one or two custom types.
Seeing the map: Content Explorer and DLP simulation
Detectors alone do nothing until something uses them. Two tools turn them into a map of your tenant.
Content Explorer, in the Purview portal, is the direct answer to "where does our sensitive data live." It shows counts of items matching each sensitive information type, drillable by location: this SharePoint site, that mailbox, this OneDrive. Microsoft's Content Explorer documentation covers the mechanics. The honest licensing note: it generally requires Microsoft 365 E5 or an E5 compliance add-on, so it is not part of the Business Premium toolkit.
DLP simulation mode is the Business Premium path to much of the same insight. Create a DLP policy for the two or three data types you care about, run it in simulation so it blocks nothing, and let it report what it would have matched for a couple of weeks. You get a running picture of where sensitive data moves and sits, using licensing many organizations already own. It is quieter than a dashboard, but it answers the same question, and the policy is already built when you are ready to enforce.
Finding the data is half the picture. Access is the other half.
A file full of Social Security numbers in a locked-down site with three members is a managed risk. The same file in a site shared with "everyone in the organization" is an incident waiting for a search box, or a Copilot prompt. That is why a real sweep pairs classification with a look at sharing: SharePoint's reports on organization-wide and Anyone links, plus access reviews on the sites that hold something sensitive. We covered that side in our guide to SharePoint oversharing, and it is step one of the data-governance work in any Copilot rollout. Ranking overshared locations by whether they actually contain sensitive data is what keeps the cleanup list short: in the scans we run for clients, a handful of sites usually account for most of the real exposure.
A practical first sweep
You do not need a project plan to start. A first pass looks like this:
- Pick the three data types that would hurt most if they leaked: for a practice that might be medical record numbers, Social Security numbers, and payment cards.
- Create one DLP policy for them in simulation mode across email, SharePoint, and OneDrive, and let it run for two weeks.
- Review the matches by location, and pull the sharing reports for the sites that light up.
- Fix the intersection first. The files that are both sensitive and broadly accessible are the short list that matters.
- Then add protection that sticks: sensitivity labels on the categories you found, and the DLP policy switched from simulation to enforcement.
That sequence, find, rank by access, protect, is the same one behind every data-governance framework, just at a size a small organization can actually execute.
Frequently asked questions
What are sensitive information types in Microsoft Purview?
Sensitive information types are the built-in detectors Purview uses to recognize sensitive data by its shape and context: patterns like a Social Security number or credit card number, supported by keywords and checksums that raise confidence. Microsoft ships hundreds of them, and you can build custom ones for identifiers unique to your business.
Does Microsoft 365 automatically detect sensitive data?
The detectors exist in every tenant, but they only act when something uses them: a DLP policy watching email and files, an auto-labeling rule, or the classification dashboards. Until one of those is configured, sensitive data sits unrecognized. Turning on a DLP policy in simulation mode is the usual first step.
What license do you need for Content Explorer?
Content Explorer, the dashboard that maps where sensitive data lives across your tenant, generally requires Microsoft 365 E5 or an E5 compliance add-on. Business Premium tenants can still see a great deal by running DLP policies in simulation mode and reviewing what they match.
Can Purview find patient data and PHI?
Yes. The built-in sensitive information types include health-related identifiers such as medical record numbers alongside financial and government ID patterns, and custom types can be built for your practice management system's chart or patient ID format. Those detectors then feed DLP, labeling, and reporting.
How do I find files that are shared too broadly?
That is the other half of the risk picture: knowing a file contains sensitive data matters most when you also know who can open it. SharePoint sharing reports and access reviews show the exposure side, and pairing them with classification tells you which overshared files actually matter.
Start finding sensitive data in Microsoft 365 this week
To find sensitive data in Microsoft 365, you do not need new software, just the classification tools already in your tenant pointed at the right question: a DLP policy in simulation mode on Business Premium, or Content Explorer if your licensing includes it, paired with a look at which of those locations are shared too broadly. Two weeks of quiet observation usually turns "we have no idea what is out there" into a short, ranked list of fixes. If you would rather have that map built for you, Desert Lakes Solutions runs this kind of scan for clients and offers a no-pressure discovery call to walk through what it would show in your tenant. Book a discovery call whenever you are ready.